FlippedNormals
Instructors: Milad Kambari
Duration: 17h 40m • 23 Lessons
Video: MP4 1920×1042 44 KHz | English
Size: 4.6789 GB
ABOUT MCLAREN TRAINING COURSE
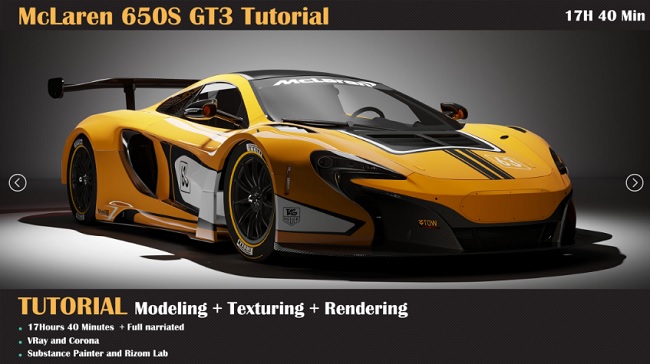
Welcome to McLaren tutorial, in this tutorial we are going to model and render a McLaren 650S in 17 hours and 40 minutes. This tutorial includes the steps of preparing a reference, pre-modeling the body of a McLaren car, adding car details, Unwrap and UV, texturing and material, and lighting with the Vray and Corona rendering engine in 3Ds max.
INCLUDES
23 Full HD Video Files
Duration: 17hrs 40 min video MP4 format with full audio commentary in English
FIRST STEP, SETUP REFERENCE
In this step, we check our images and references, and setup our references in 3ds Max, and prepare the file for start modeling phase.
SECOND STEP, START FIRST PHASE OF MODELING
We start our work inside 3ds Max with the simplest method of modeling, and we model the car body piece by piece. At first, we only model the general form of the McLaren to arrive at a correct initial form. All these steps are done inside the 3Ds Max without using any special plugins or scripts. For modeling steps, a method has been considered that can be understood and used by all levels.
THIRD STEP, ADDING FINE DETAIL
In this Step of the training, we will examine all the parts of the Mclaren part by part and add the details according to the references. In this section, we create a high-detail model using the TurboSmooth method in 3Ds Max. In this part of the tutorial, we will use one of the advantages and strengths of 3Ds Max in modeling and learn how to use the stack modifier. After adding the details and finalizing our model, we move on to the next part.
FOURTH STEP, UV AND UNWRAP
In this part, we use a wonderful software in UV discussion called Rizom Lab. The reason for this choice is the weakness of 3ds Max’s Unwrap Modifier, which disrupts the work process, especially high-poly models. And along with all these cases, the various features of the software greatly help us in the work process. We enter the model of the car into the software part by part and follow the unwrap process. After these steps, we continue our way in Substance Pinter.
FIFTH STEP, TEXTURING AND MATERIAL
This part is divided into 2 parts, in the first part we start making the textures that we need to make the material in Corona and Vray. In addition to Substance Pinter, we will also use Photoshop. In this section, you can use my method, or you can use any other resource or method. For this section, I have tried to consider a very practical method to use the excellent software in the field of texturing, Substance Painter, with the least knowledge. In the second part, we will learn how to create shaders in another software, which is 3ds Max here, from the textures we created in Substance Painter.
SIXTH STEP, SHADERING, LIGHTING, AND RENDERING
This part also has 2 separate parts from zero to hero. All stages of shader construction, lighting and rendering are done in 2 rendering engines, Vray and Corona. You can use almost all the steps in this section, especially the use of textures made in Substance Pinter, and the rules and methods of lighting in any rendering engine.
WHAT ARE THE REQUIREMENTS?
It is recommended to follow the course with the same software we use throughout the tutorial: 3Ds Max for Modeling, RizomLab for UV and Unwrap, Substance Painter for Creating Texture, Vray or Corona for Rendering. However, you can use all the methods used in your own software.
WHO IS THE TARGET AUDIENCE?
the McLaren tutorial is aimed at beginners and intermediates. You should know at least basic knowledge of 3ds max, Vray, Corona, Substance Painter, and Rizom Lab.
Password/解压密码www.tbtos.com
转载请注明:0daytown » Mclaren 650s Gt3 Tutorial ( Modeling, Texturing, Lighting )